Don't we all?
Any thing that gets us to a finished quilt
or project faster is always a good thing!
Stack up you strips,
right side up on all of them
right side up on all of them
turn stack around and do the other end
Match up ends, right sides together,
sew with scant 1/4 inch seam
sew with scant 1/4 inch seam
Iron open, fold in half, iron, roll up and
you're ready to sew it on your quilt!
you're ready to sew it on your quilt!
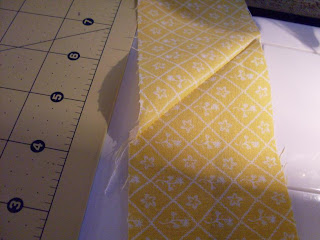
It doesn't matter what width you cut your strips.
Just line it up along the bottom edge of the strips as pictured.
My binding turns out perfect.
There's so many tutorials out there to attach your binding so I won't go into that.
Don't throw out the little triangles you cut off, just turn them into half-square triangles,
eventually you'll have enough to make a little quiltie or mug rug.
Thanks for visiting!!
P.S. Yikes! Two posts in one day!!


Love this tool to finish binding and ba da bing your tut to use it to MAKE binds is... brilliant! Thank you.
ReplyDeleteThis is a great idea. Much simpler than my usual overlapping pieces at right angles! I've come to follow you and see what other tips and tricks you have :)
ReplyDeleteThis is a really great idea. It will help make sure that all the different cuts are the right angle and all the same. Thank you for showing a step by step. This was very informative.
ReplyDeletehttp://online-phd-uk.co.uk/